As soon as I saw this 150-year-old house in Charleston Illinois I knew that we could make it our own. It was dirty, dark and unloved but had so much potential to be a happy and bright family home. You can read more about what brought us to Charleston in my interview with Design Mom.
Don’t forget to see the posts of our home tour and our house decked out for the holidays.
Exterior
BEFORE
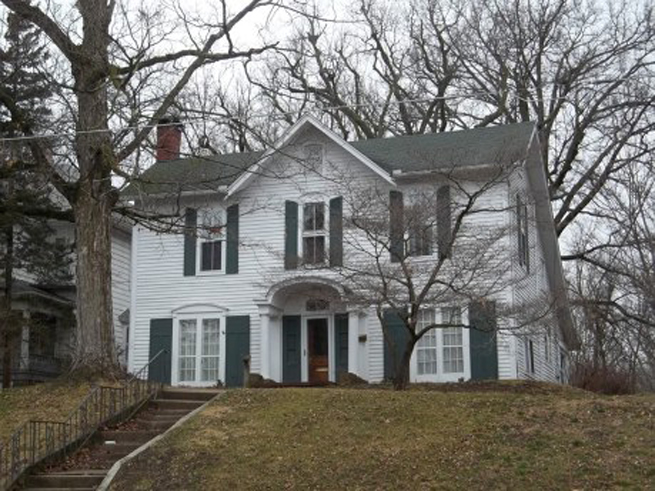
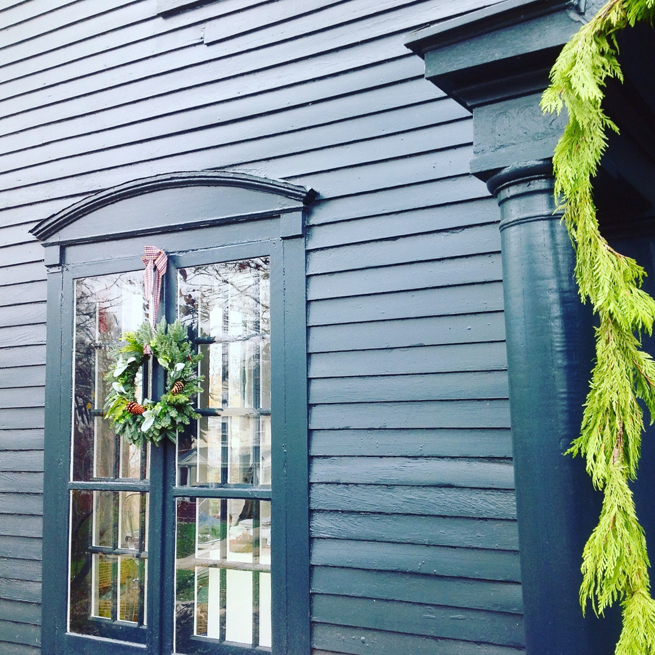
The house was white with decorative green shutters for at least 100 years. After living here for 2 years I decided that we needed to go dark. I love the monochromatic Colonial homes in New England, especially Massachusetts homes like The House of Seven Gables and The Orchard House that were built in the late 1600s.
In 1864 our house was originally built in the Carpenter Gothic style. Then in 1920 the second owners added a Georgian Colonial Revival style by changing the facade. The gingerbread trim and the porch were removed and a portico with columns was added. The bay windows in the front of the house were replaced with french doors.
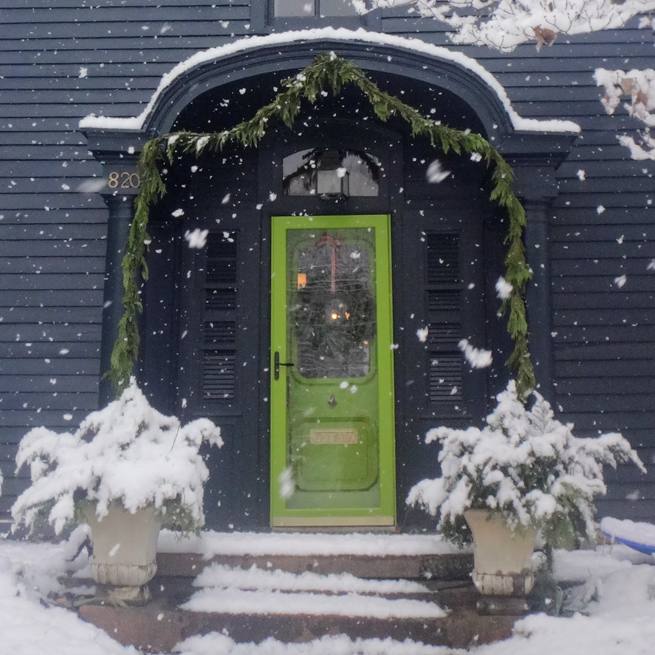
I found the combination of styles confusing and think that the monochromatic, dark paint job solidified the look. We chose Sherwin Williams color Dark Knight for the exterior with Nervy Hue for a pop of color on the door.
AFTER

BEFORE
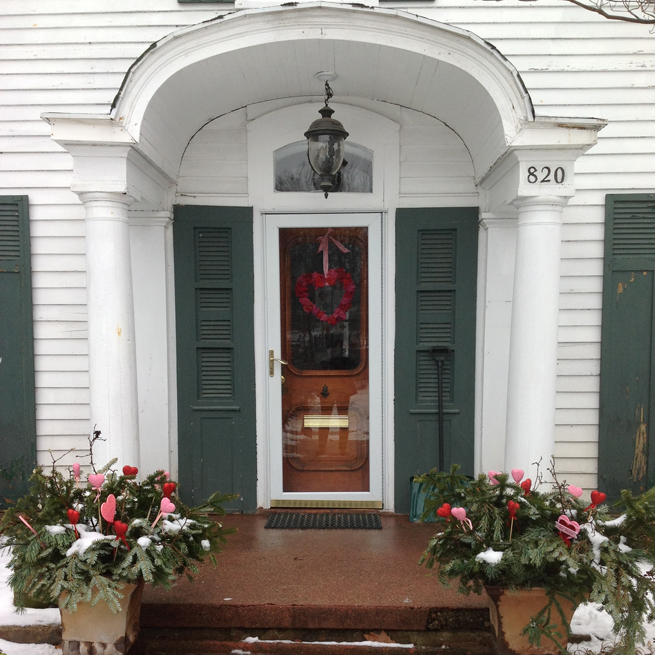
We replaced the light fixture on the front porch with a smaller pendant light that reminded me more of a lantern from the 1800s.
AFTER
BEFORE
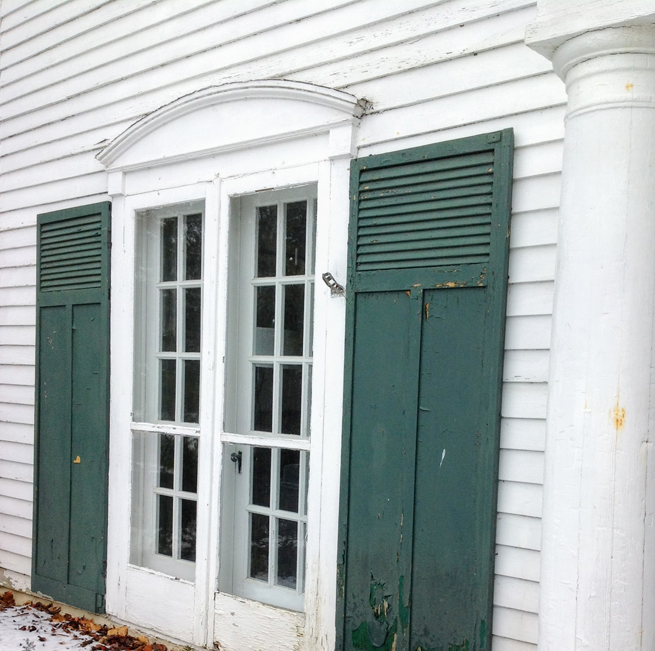
The shutters were in bad shape and weren’t functional (I love a functional shutter!). I think they took away from the beauty of the windows.
AFTER
Front Door
BEFORE
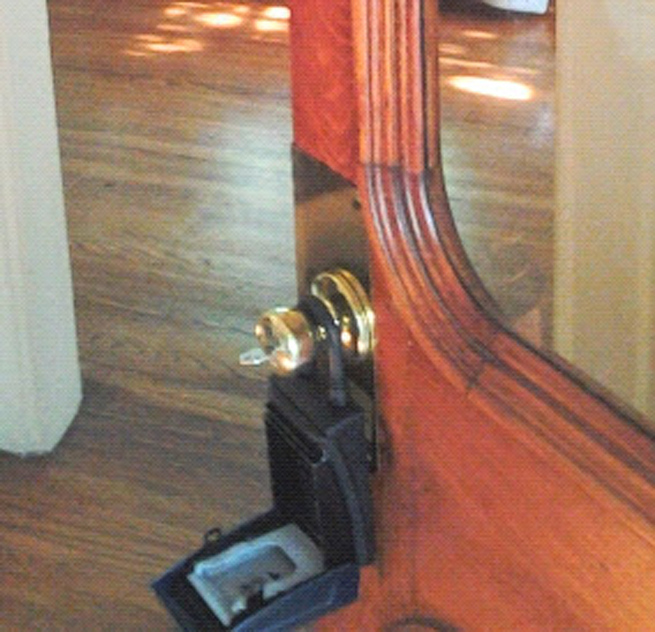
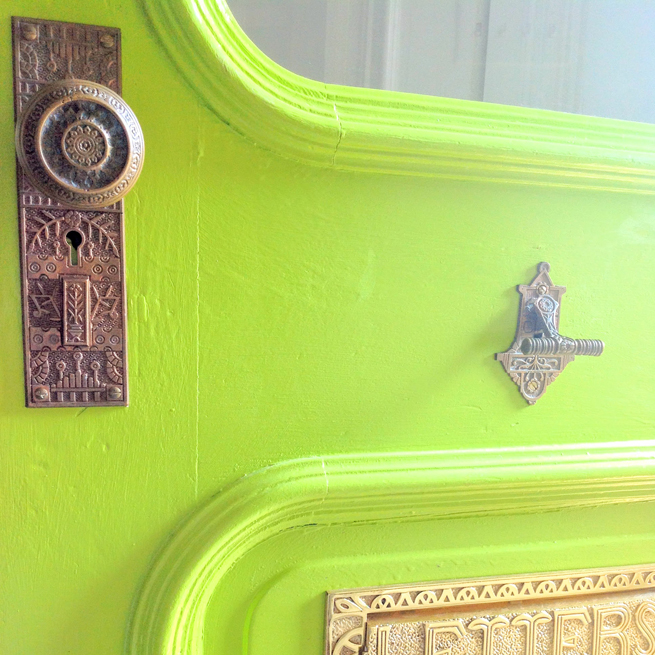
We replaced the front doorknob and backplate hardware with antiques I found on eBay. The original doorbell is still in great shape and we found a reproduction mail slot from Signature Hardware. The old knob was a privacy knob for an interior door that was backed by a large metal plate to cover bored holes and other damage. It was tricky to repair all of that damage and replace the modern lock with an antique mortice box.
AFTER
*All of the following “before” photos were taken on a very hot summer day when the kids and I toured four houses with our realtor…they were quick snapshots but give you the idea.
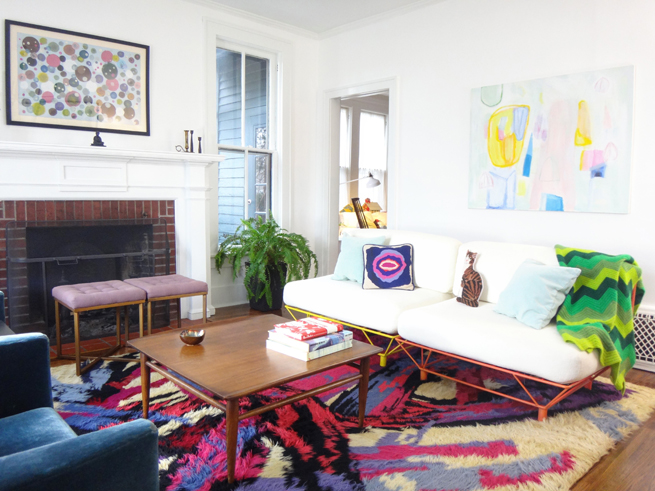
Living Room
BEFORE
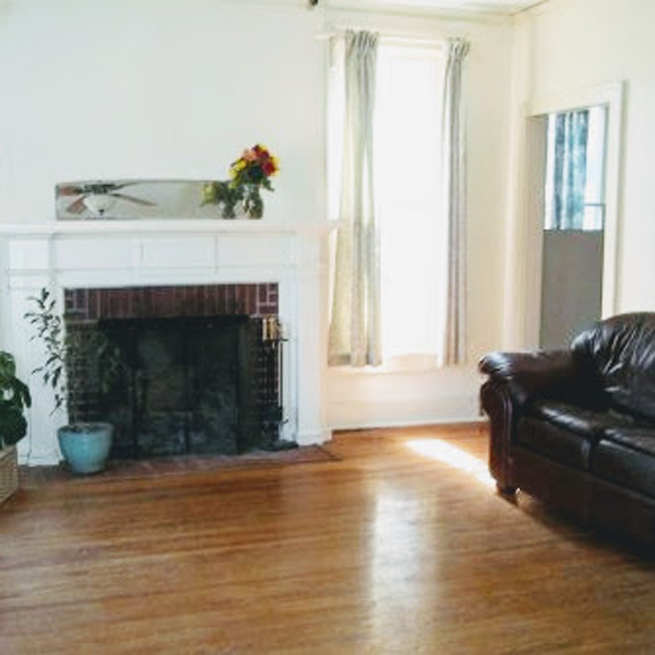
We had the wood floors refinished before we moved in and the interior of the house was painted a few months after we moved in (the majority of the interior is painted Sherwin Williams Extra White). New floors and paint always helps me settle into a space and makes it feel like we can “start fresh” in the house.
In the Living Room we removed all of the window treatments, replaced the light fixture and cleaned out the fireplace.
AFTER
BEFORE
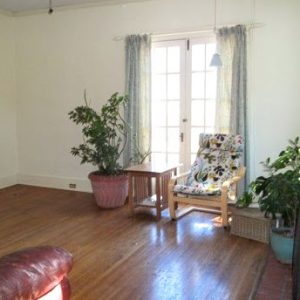
So nice to take off those curtains!
AFTER

BEFORE
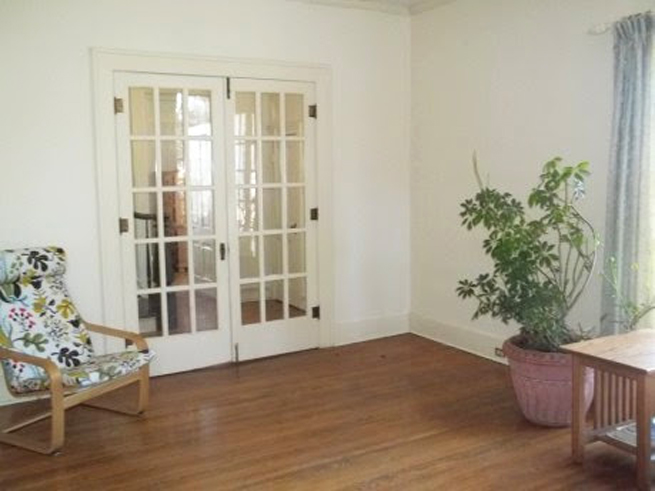
The white paint did a lot for the house which was painted beige throughout.
AFTER
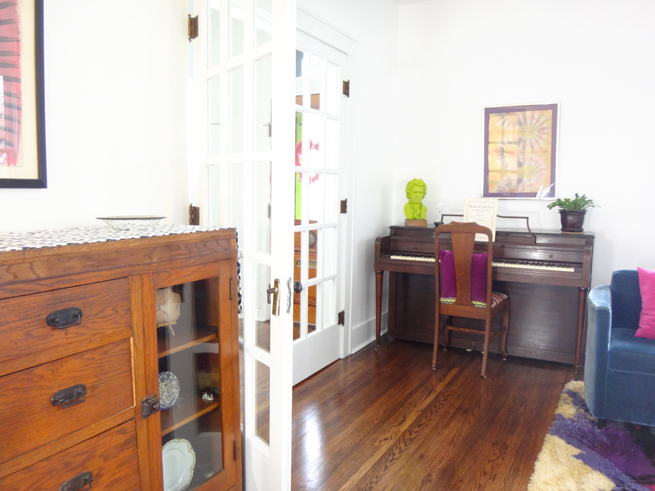
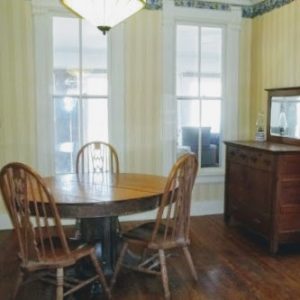
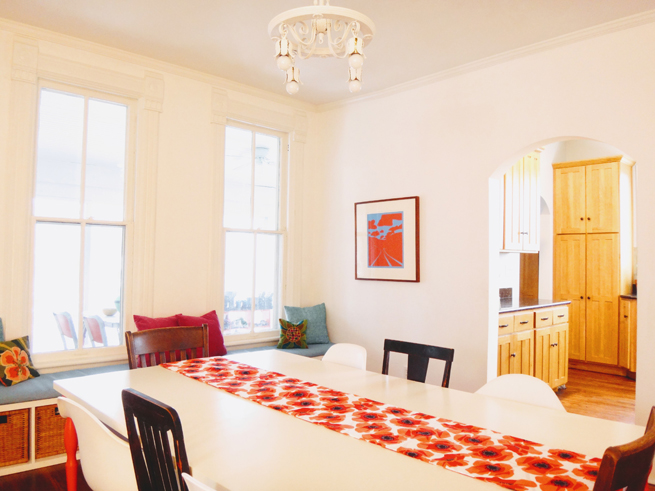
Dining Room
BEFORE
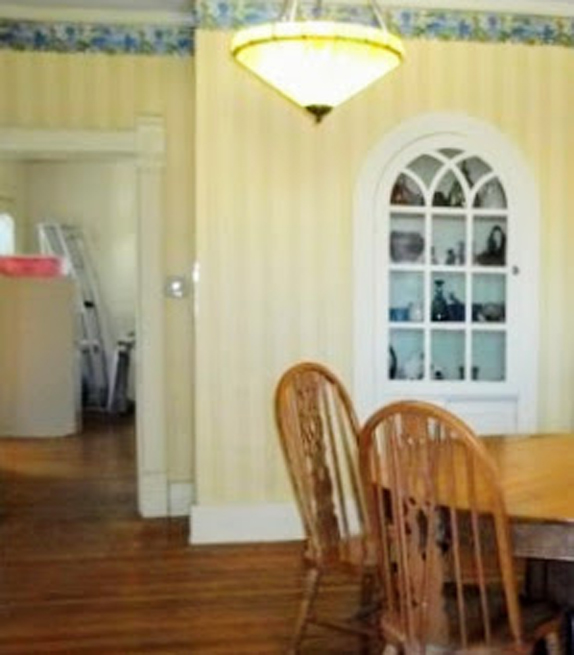
Removing the Dining Room wallpaper was one of our first projects. We had never done it before but it was pretty easy – just very time consuming, wet, and messy. Luckily there were 2 kids there who love using spray bottles to help us.
AFTER
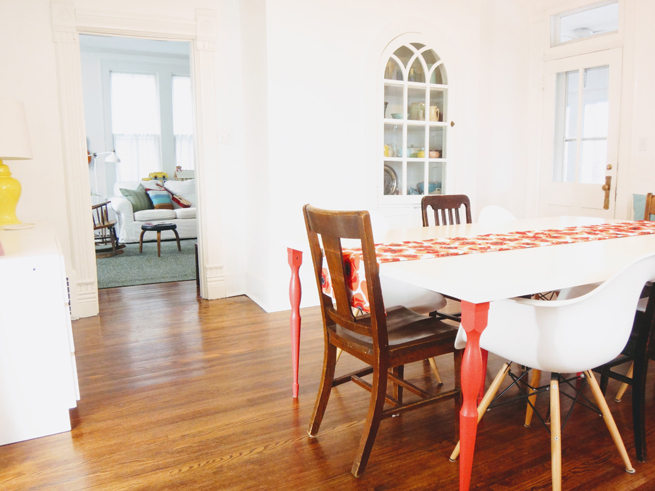
BEFORE
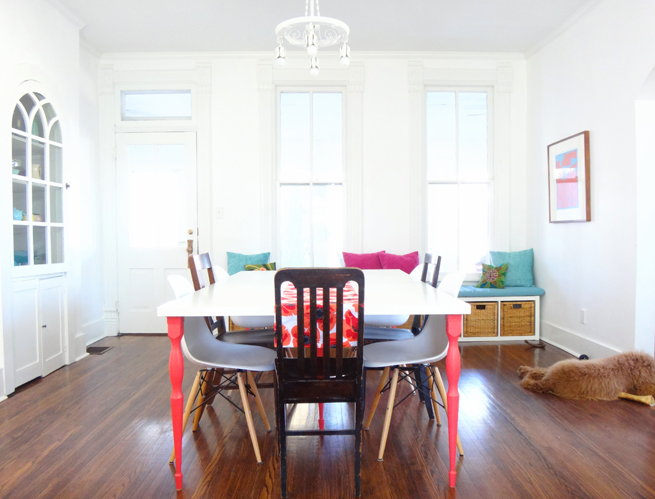
Replacing the dark walls with white makes the room open up!
Steve found the old light fixture, pictured below, in the crawl space in the basement – which is a very cool space with a stone floor! We believe the fixture was the original, brass Dining Room fixture that had been painted and repainted over the years. I hope to sandblast it someday, but for now white spraypaint works great!
AFTER
Dining Room/Kitchen
BEFORE
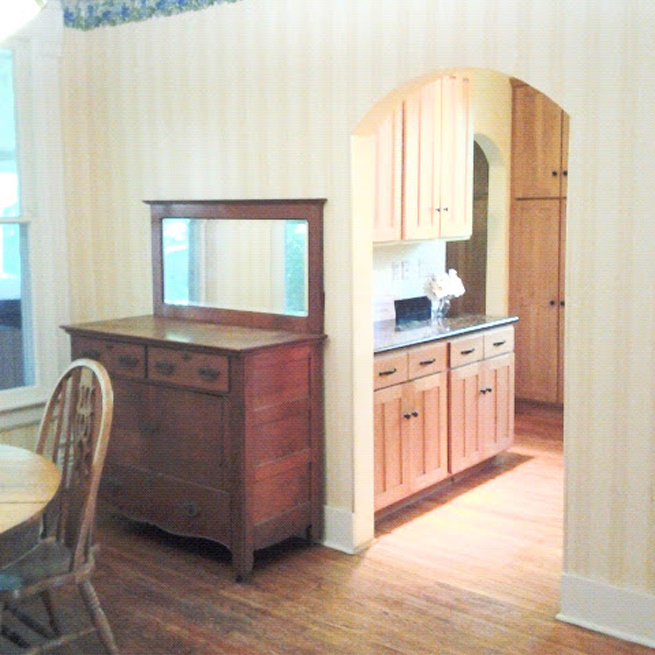
We haven’t had a chance to do much with the small kitchen. The previous owners updated it in the last decade. Originally the house’s kitchen was in the backyard, so having a kitchen inside and with a dishwasher is good news. Some day I will tackle those cabinets because I adore a white kitchen.
AFTER
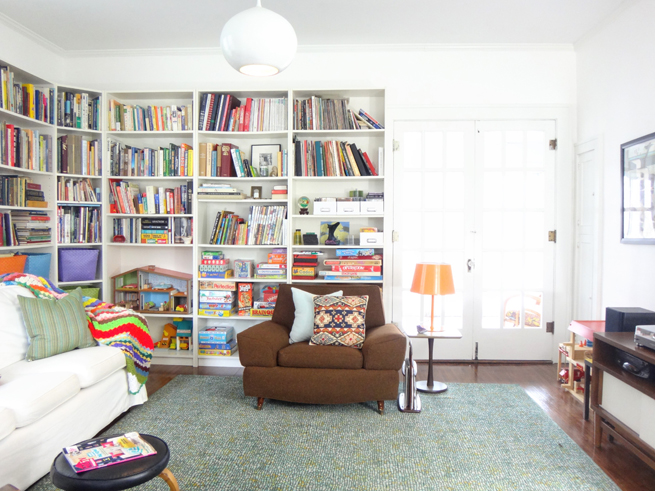
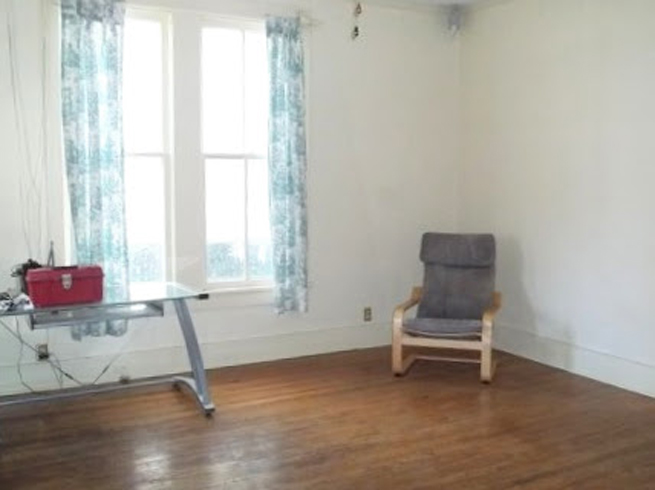
Family Room
BEFORE
We wanted to make the Family Room a comfy place for our one TV and stereo as well as a play place for the kids. Using bookcases to wrap around the corner is an easy way to store books, games and toys. The light fixture was updated too.
AFTER
BEFORE
After removing the curtains, I covered the windows with white cotton sheers to obstruct the view of the house next door.
AFTER
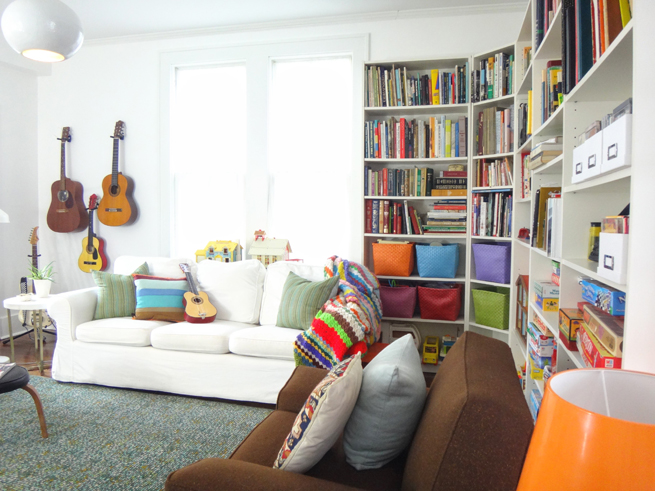
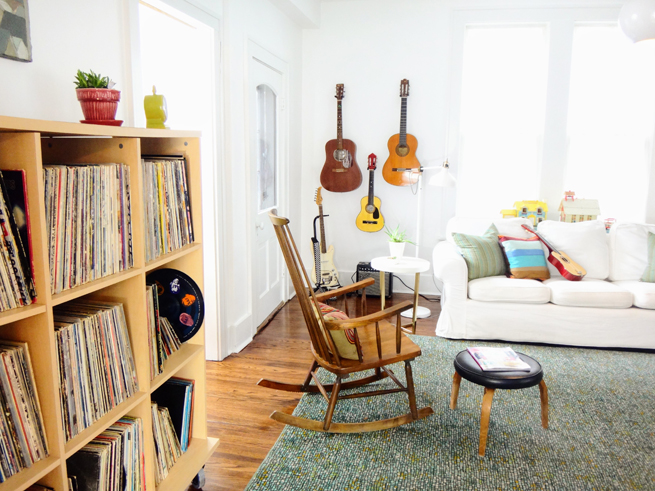
BEFORE
I am glad we have plenty of room for our records!
AFTER
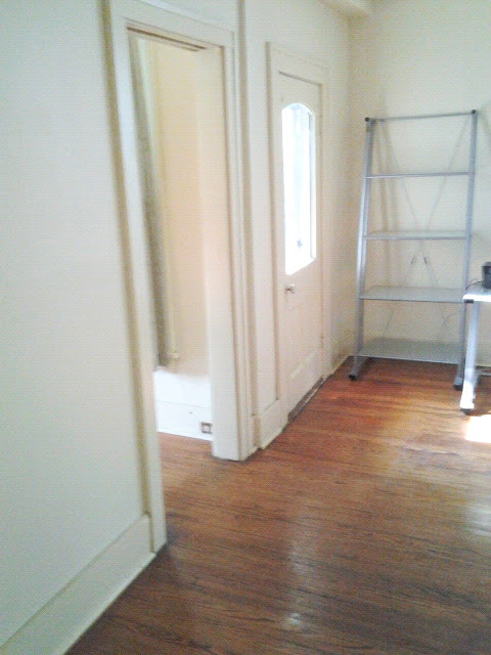
BEFORE
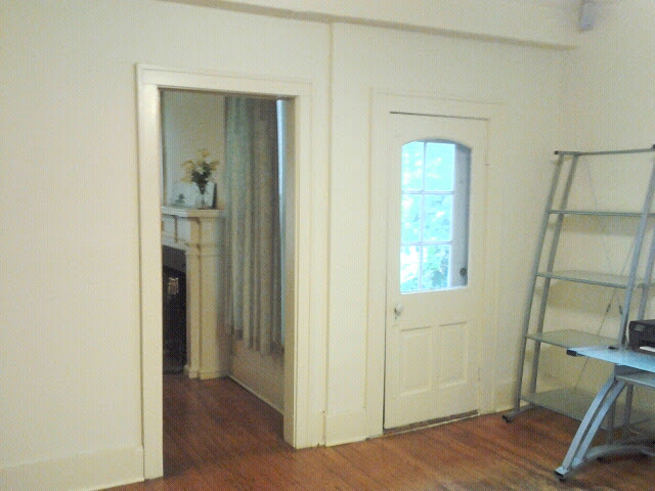
This door in the Family Room used to lead to a side porch that has since been removed.
AFTER

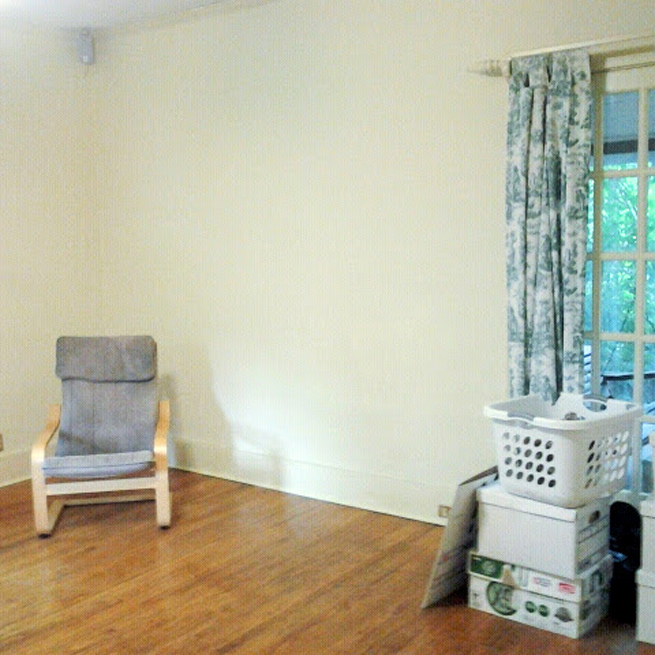
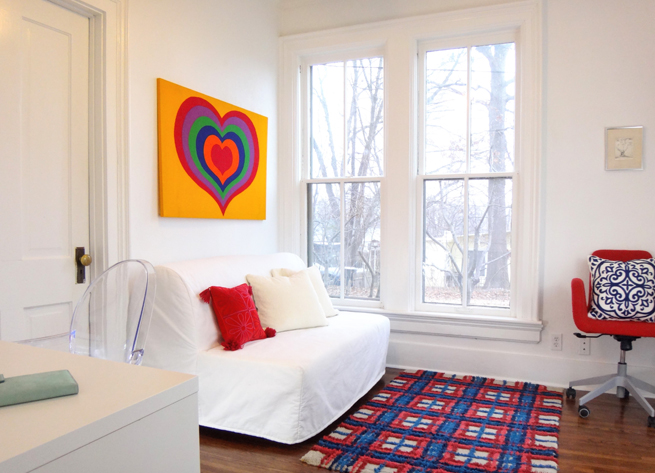
Office/Guest Room
BEFORE
This room, that is right off of the foyer, is a wonderful space for my office and a place for guests to stay.
AFTER
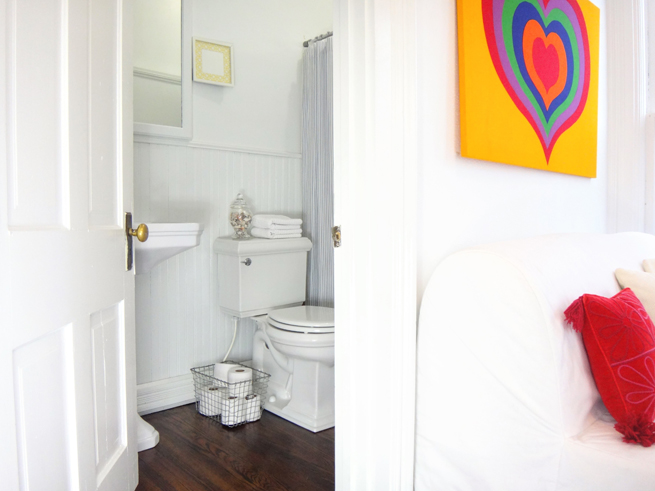
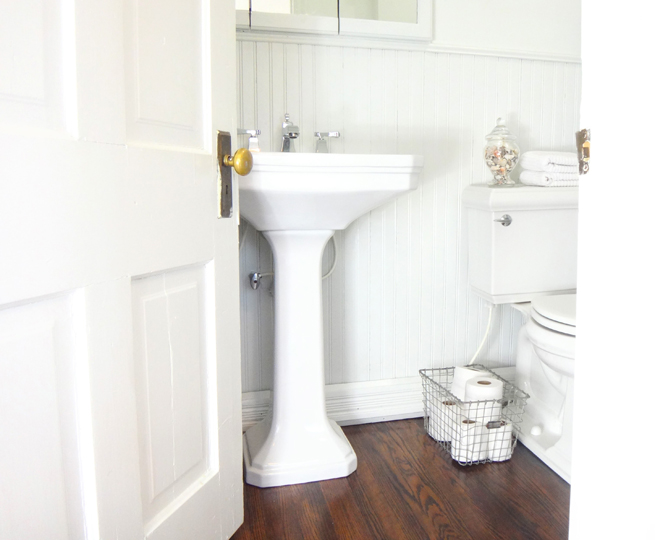
BEFORE
The full bathroom needed a lot of work.
AFTER
BEFORE
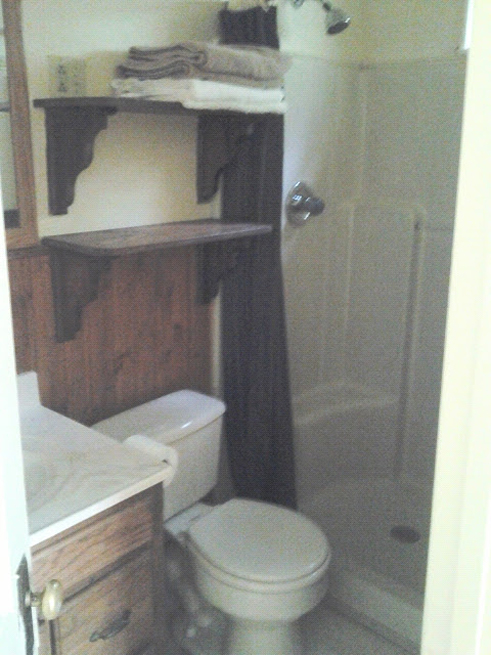
The sink and vanity were too deep for the room so that the bathroom door wouldn’t open all the way. You had to shimmy through the door to close it behind you. It is a small space but I was able to find a pedestal sink small enough to allow us to open the door all of the way! Steve battled with the underlayment and vinyl floor to get to the wood underneath. Lots of it was rotten, but our floor refinisher was able to make a perfect match. We still have a lot to do in there, but with a new toilet and paint it will do for now.
AFTER
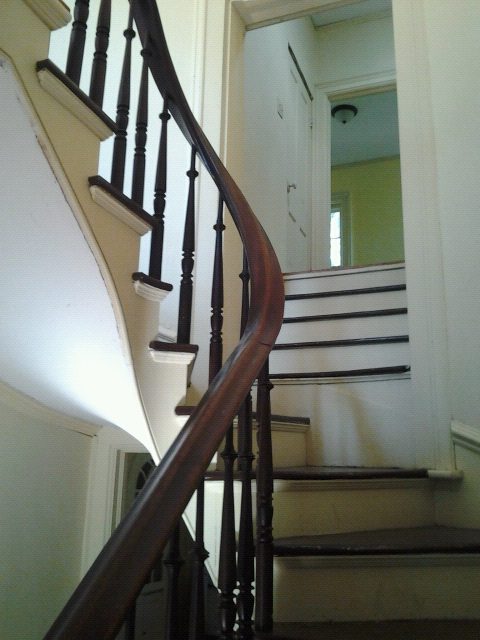
Stairway
BEFORE
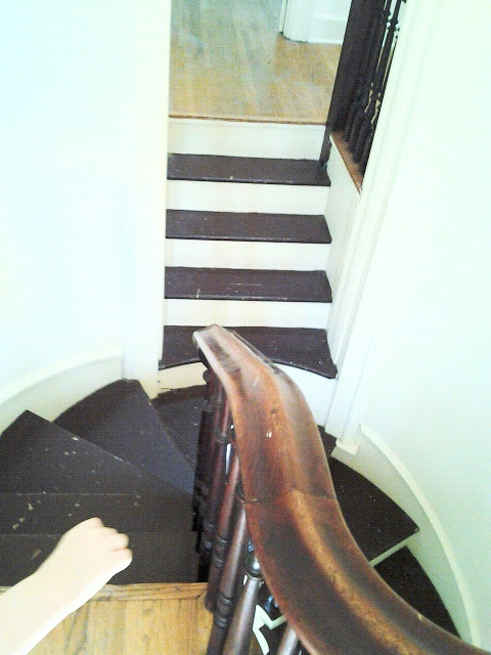
Those poor painted stairs! I love having them stripped and refinished.
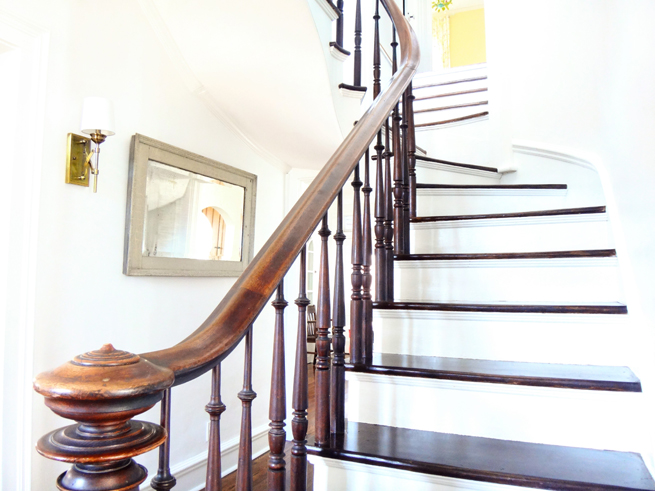
AFTER

BEFORE
Things are a lot less dreary in the house now.
AFTER
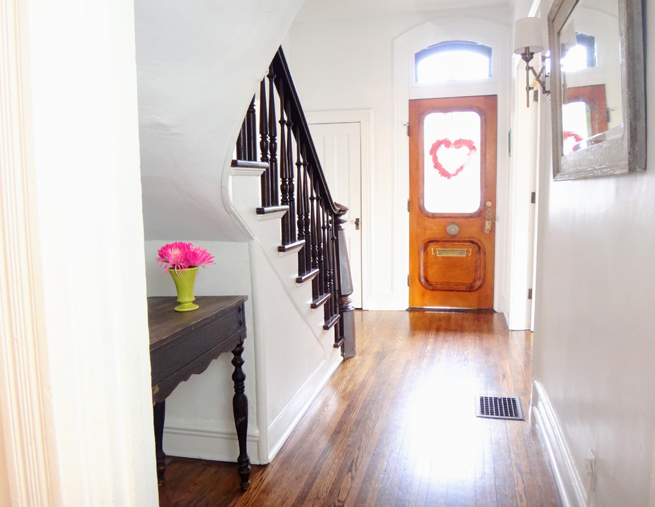
Front Hall
BEFORE

In this shot you can see the old oversized front porch light through the cool arched transom window and the old front door knob. We replaced the sconce in the hallway and with white paint and adding a mirror the space lightens up a lot.
AFTER
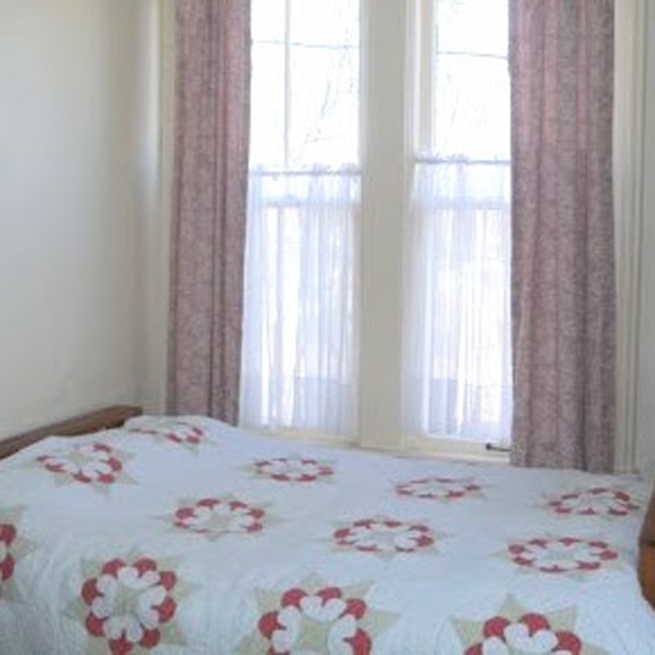
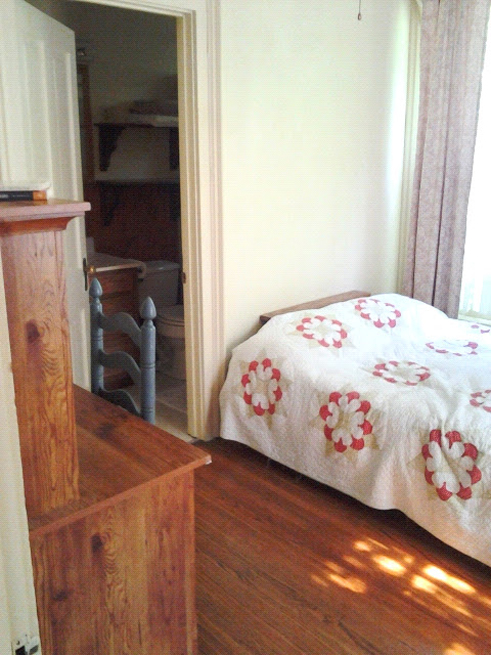
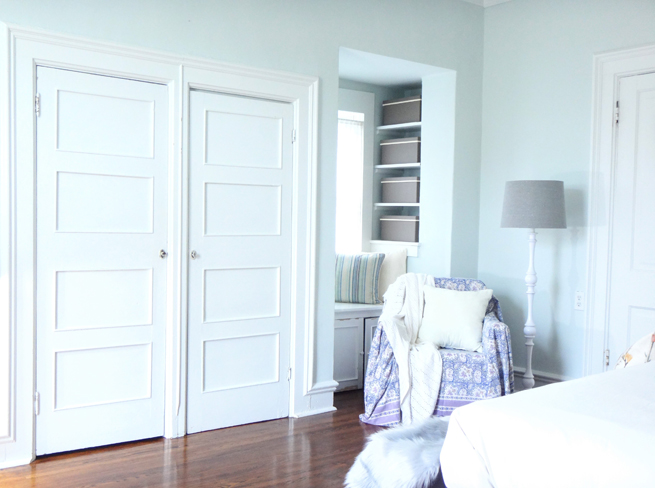
Master Bedroom
BEFORE
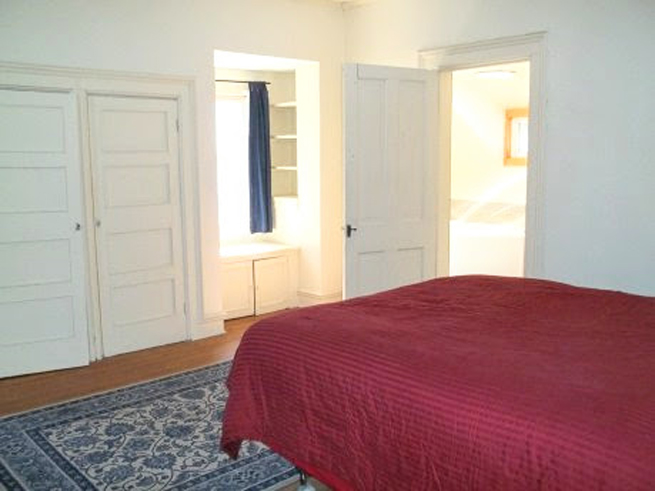
The double door closet in the Master Bedroom used to be a fireplace before the second owners remodeled in 1920.
We covered the beige with my favorite bedroom wall color, Sherwin Williams Window Pane and Extra White trim.
I have lots of plans for our bedroom. Window treatments, lighting, window seat cushions, artwork…
AFTER
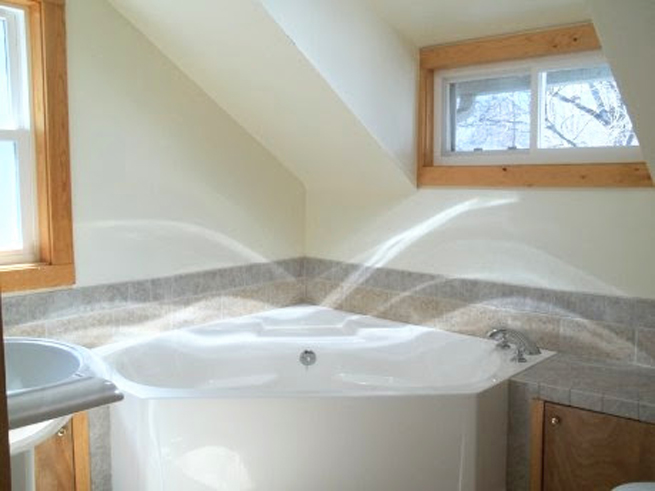
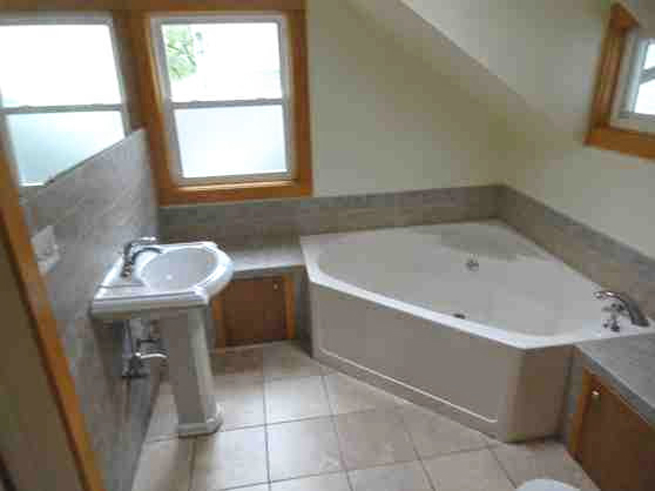
Upstairs Bathroom
BEFORE
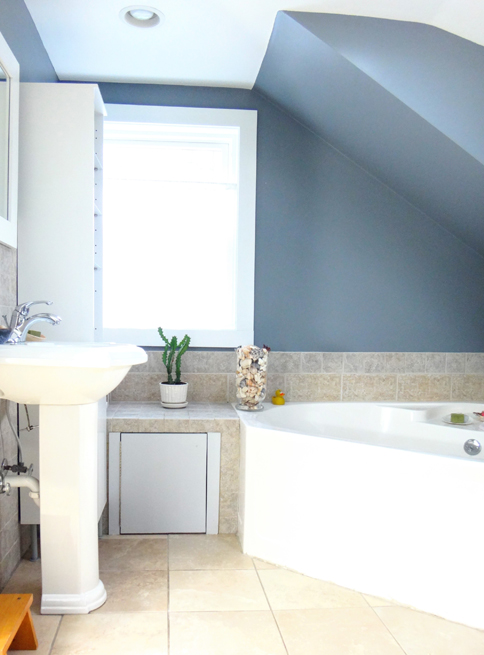
The upstairs bathroom was remodeled within the last 15 years, but isn’t my style. The kids do enjoy the big tub though. Some day we will gut it, but for now painting the walls dark gray (Software by Sherwin Williams) and the trim white make a huge difference!
AFTER

BEFORE
We removed the large wall mirror and replaced it with a framed mirror and added a storage cabinet.
AFTER
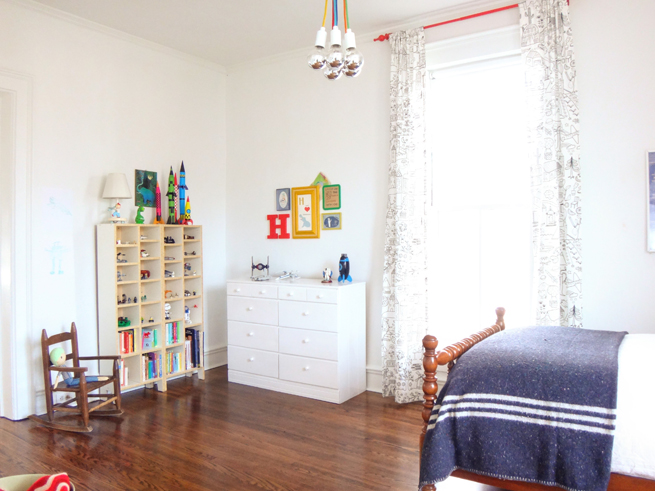
Harper’s Room
BEFORE

In Harper’s room white paint and a new light fixture made a big difference.
AFTER
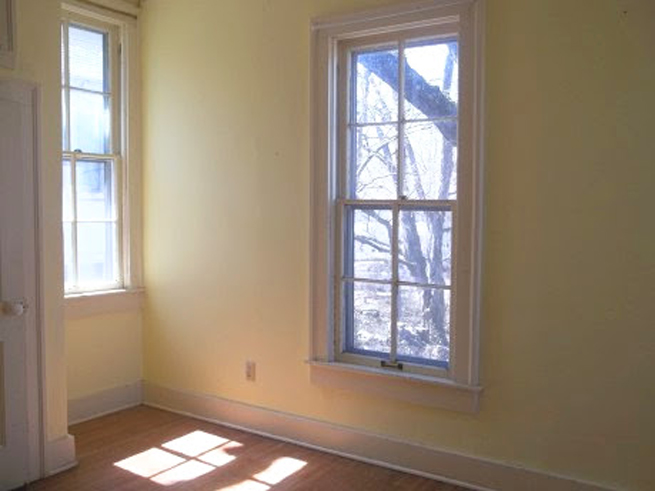
Trixie’s Room
BEFORE
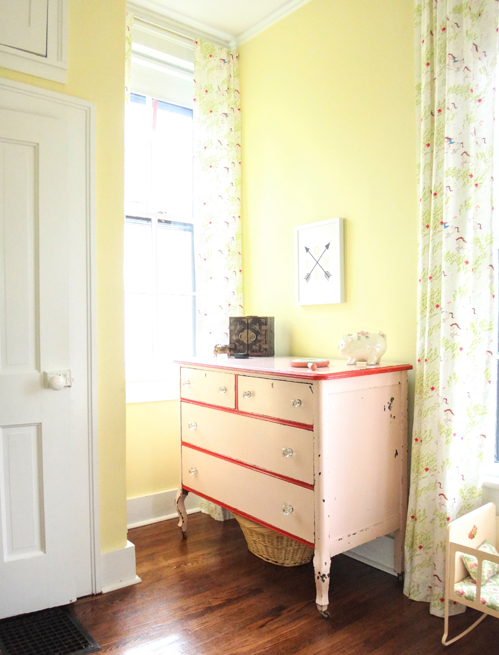
Trixie wanted yellow walls so we picked a brighter one called Lemon Chiffon by Sherwin Williams. Her ceiling fixture was replaced with a chandelier.
AFTER
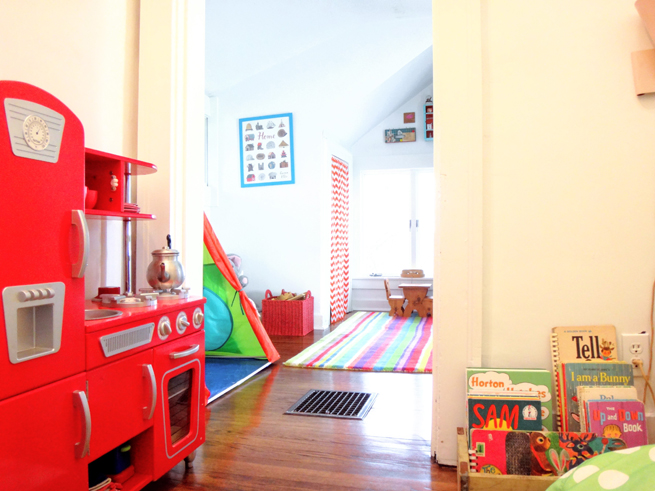
Playroom
BEFORE
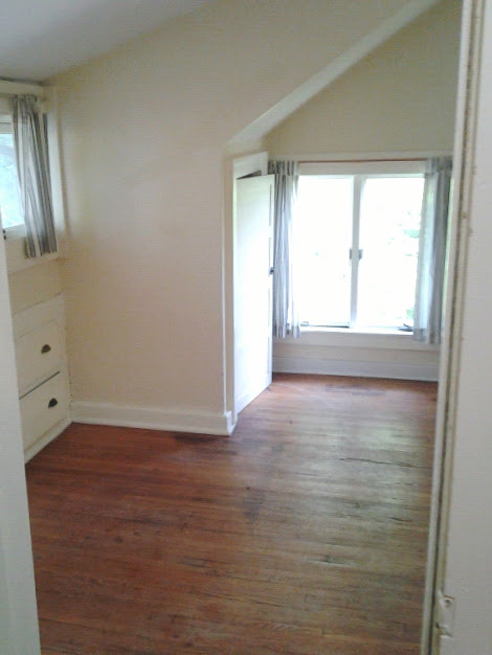
The Playroom connects Harper’s room and Trixie’s back hallway. The floors were a mess, but look great now. I removed the closet door and replaced it with a curtain so that the kids would have easy access to their costumes and accessories.
AFTER
BEFORE
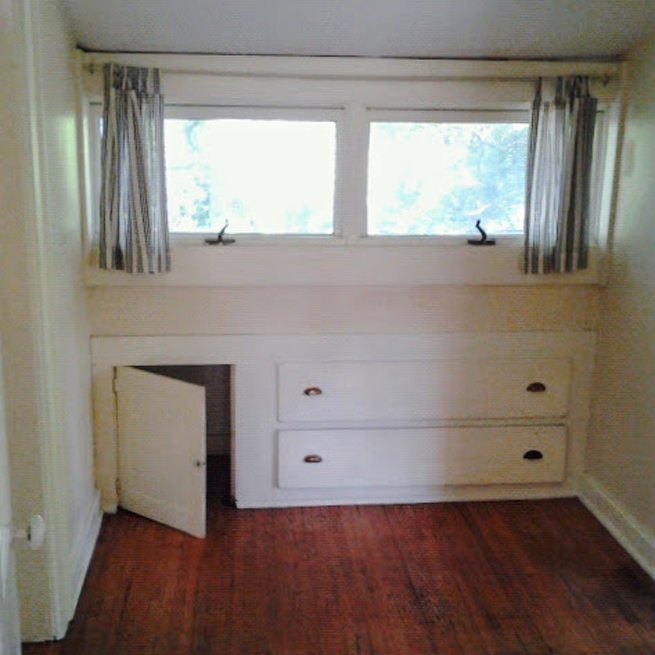
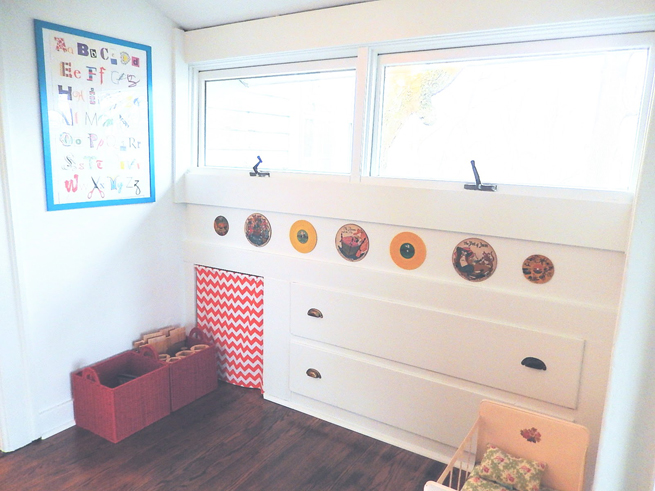
I replaced this cubby door with a curtain too – I was worried about kids getting stuck in there.
AFTER
I wish I had more “befores.” It has always been hard for me to remember to take photos of the things I would rather forget. From now on I will make sure to capture every state change.
xo
Elizabeth
